Display Editor
On this page, we’ll run through the Display Editor within the MarkeyDS dashboard. This is where you’ll learn how to edit your channel, update your regions and widgets, and push your updates to your devices.
Build Your Own Custom Channels
Within the Markey Digital Signage Display Editor, you’ll have a wide range of tools at your fingertips to drive your messaging home. Your audiences can’t help but look and take it all in. That’s a win-win.
Display Controls
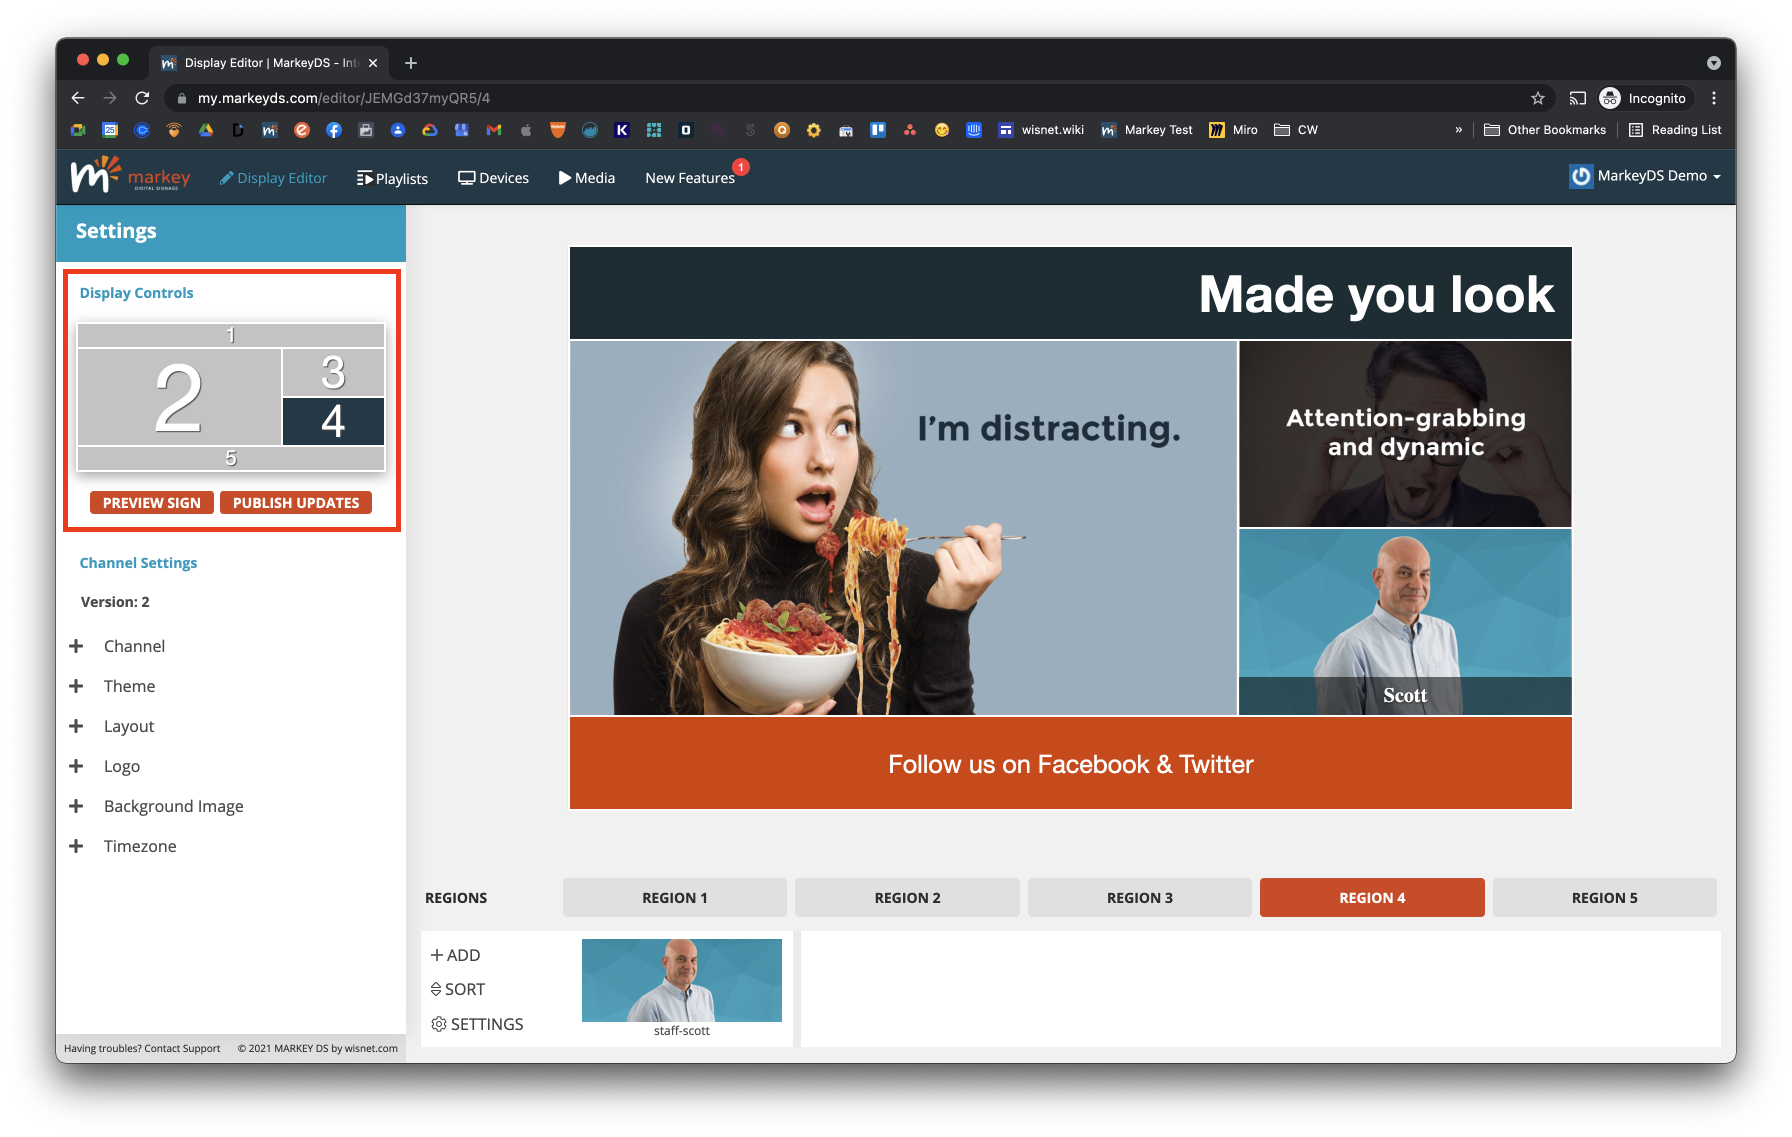
The display controls offer a quick glance at your current layout while giving you a few options to manage your preview window as well as your devices.

Layout Template
This is where you can see the layout as it corresponds to each region. The numbers in each region correspond to the slide editor drawer at the bottom of the display editor.
Preview Sign
Open your channel in a new tab to preview it in a larger window
Pro Tip: If you’re on a 16:9 monitor, View your browser in Full-Screen mode to have a more accurate representation of your channel as it appears on your device(s).
Publish Updates
Update your current Channel Version and push all changes made to your channel over to your device(s). None of your changes will be made live until you click this button.
Channel Settings
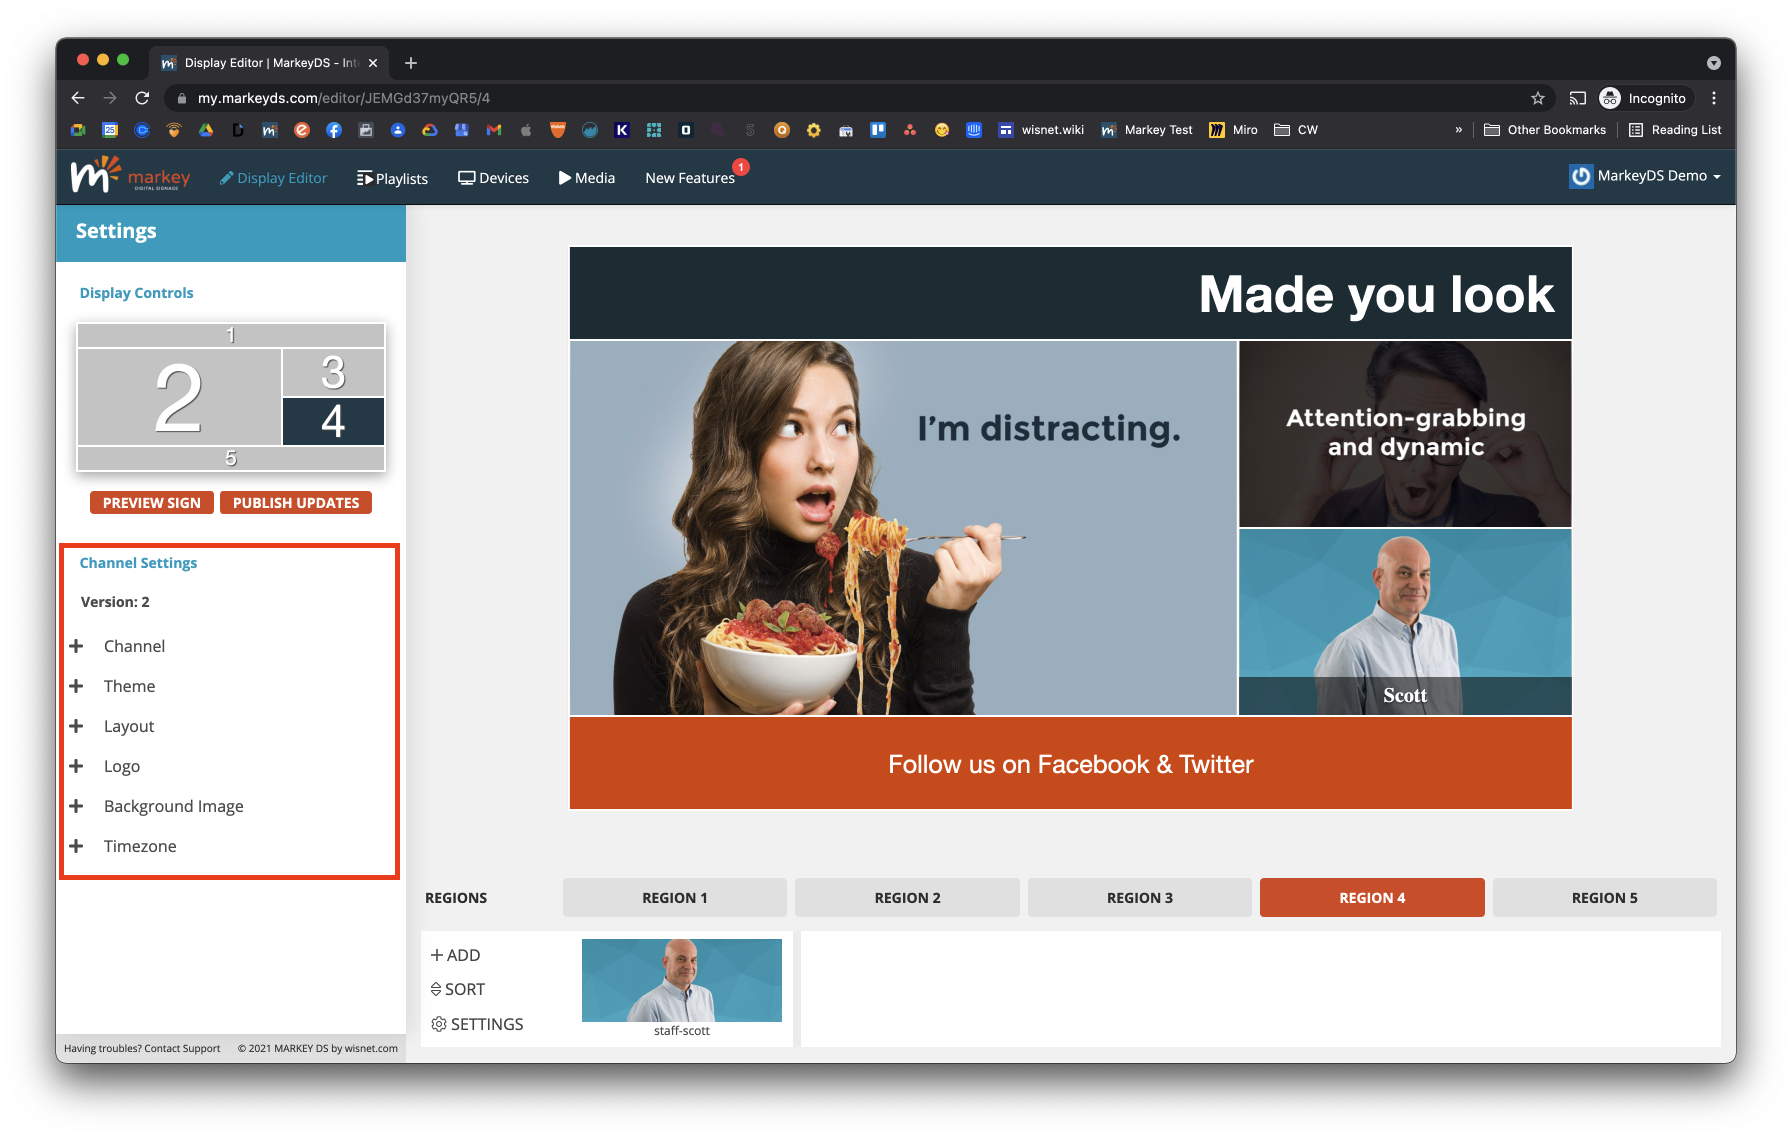
The Channel Settings impact your entire channel. To reveal the options on each, click the heading.

Version Number
This indicates the latest version number for the current channel. Every time you Update your channel, that number will increase.
Pro Tip: In the Devices manager, you can verify that your devices are on the appropriate channel version and are completely up to date.
Channel
Open to reveal:
- Edit [Channel]: Allows you to customize your channel name, UID (not recommended), and toggle whether the Channel is active or inactive.
- New Channel: Allows you to add another Channel to your account (Pro version only)
- Change Channel: Select which channel to edit from your available list.
Layout
Select from available arrangements of regions to change the look of your channel (Pro version only)
Note: When changing layouts, all slides will transfer to the matching region number. When moving from a template with more regions to one with fewer (i.e. from five to four), all slides in the unmatched regions will be removed and need to be added again.
Logo
Include a logo for your business that will appear on top of the layout in the upper left-hand corner of your channel. Acceptable file formats are JPG, PNG, and GIF.
Background Image
Customize the image behind all of your slides and regions. Acceptable file formats are JPG, PNG, and GIF.
Pro Tip: This is where you can really breathe some life into the look and feel of your channel’s design. We recommend an image sized at 1920×1080 for HD resolutions and 3840×2160 for 4K resolutions. For optimal performance, keep file sizes optimized for web.
Timezone
Select the timezone you want your channel to adhere to. This will impact the clock widget across all instances on the channel that aren’t otherwise set to another timezone.
Preview Window
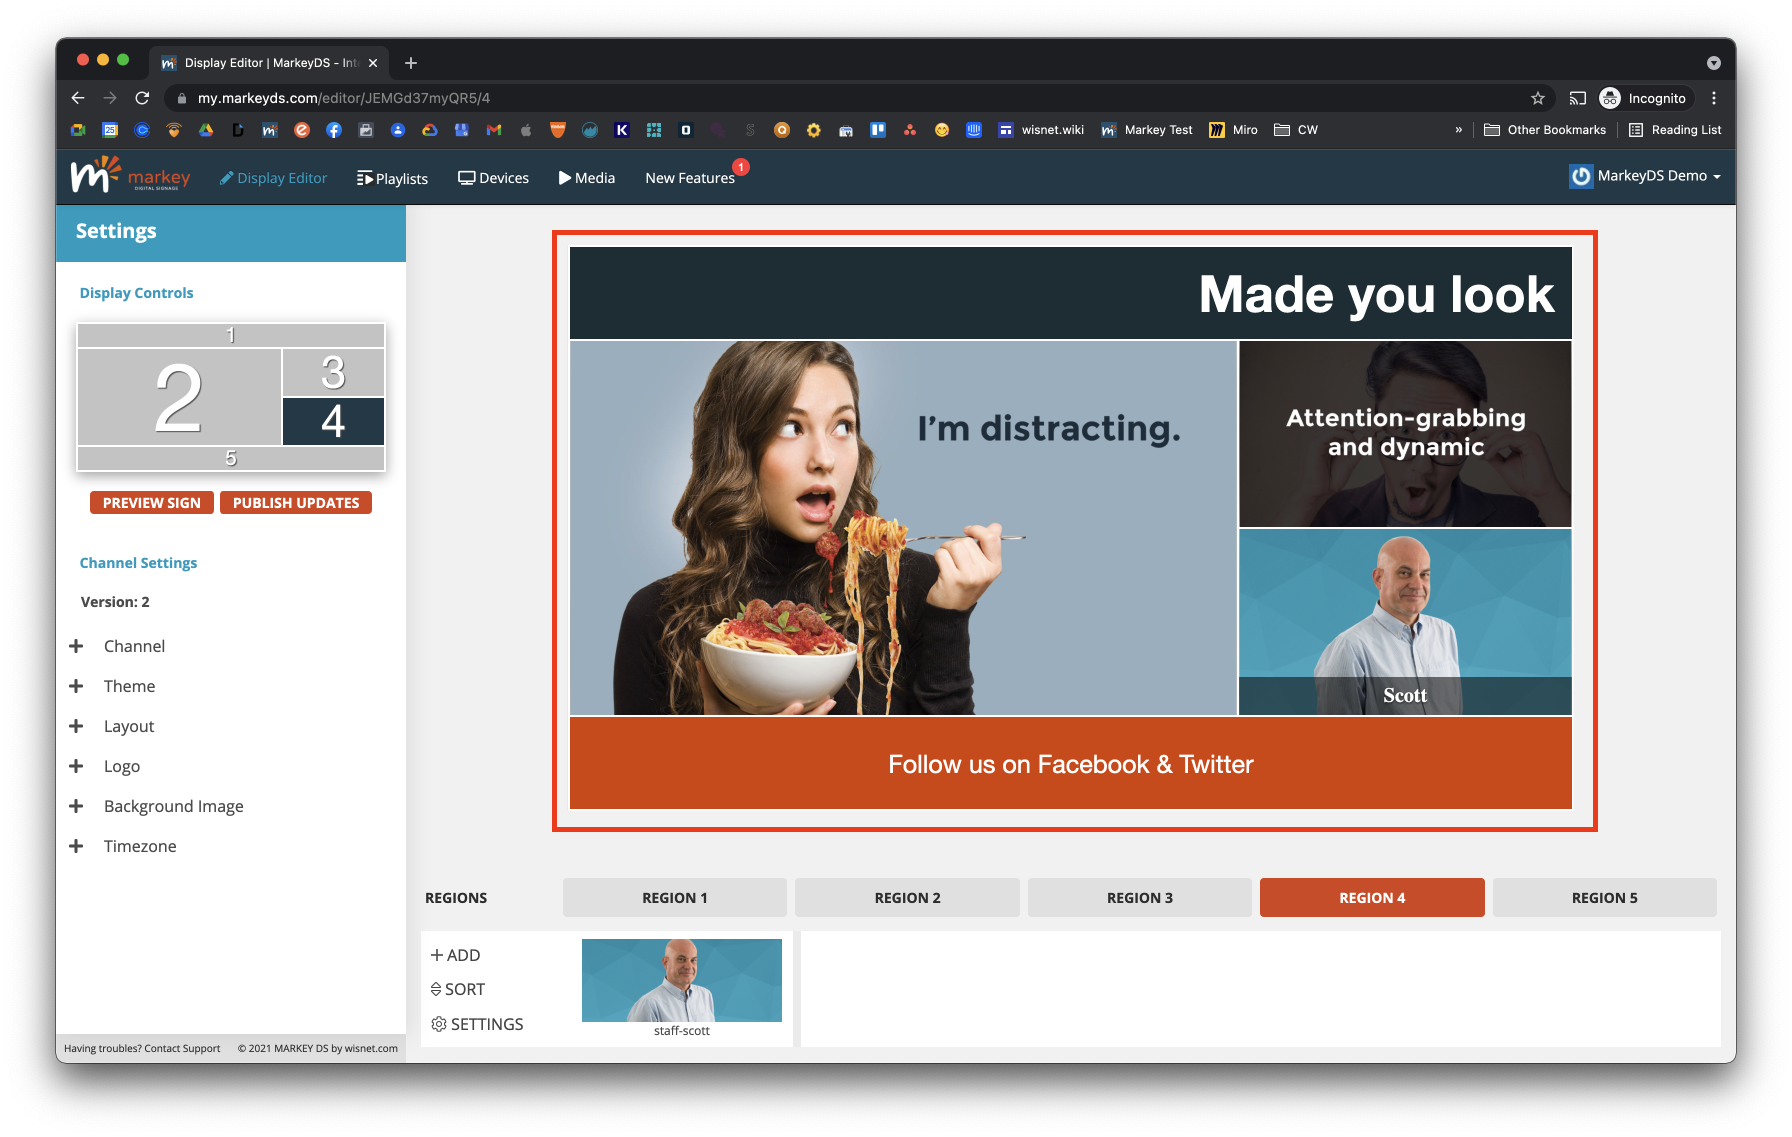
The Preview Window shows a real-time view of the channel as you make updates.

Edit a Slide
Click on the slide you’d like to edit and the slide editor will appear on the left side of your screen.
Advance Slides in a Region
Hover over the region you’d like to advance slides in and use the navigation arrows on the right and left to advance slides.
Region Drawer
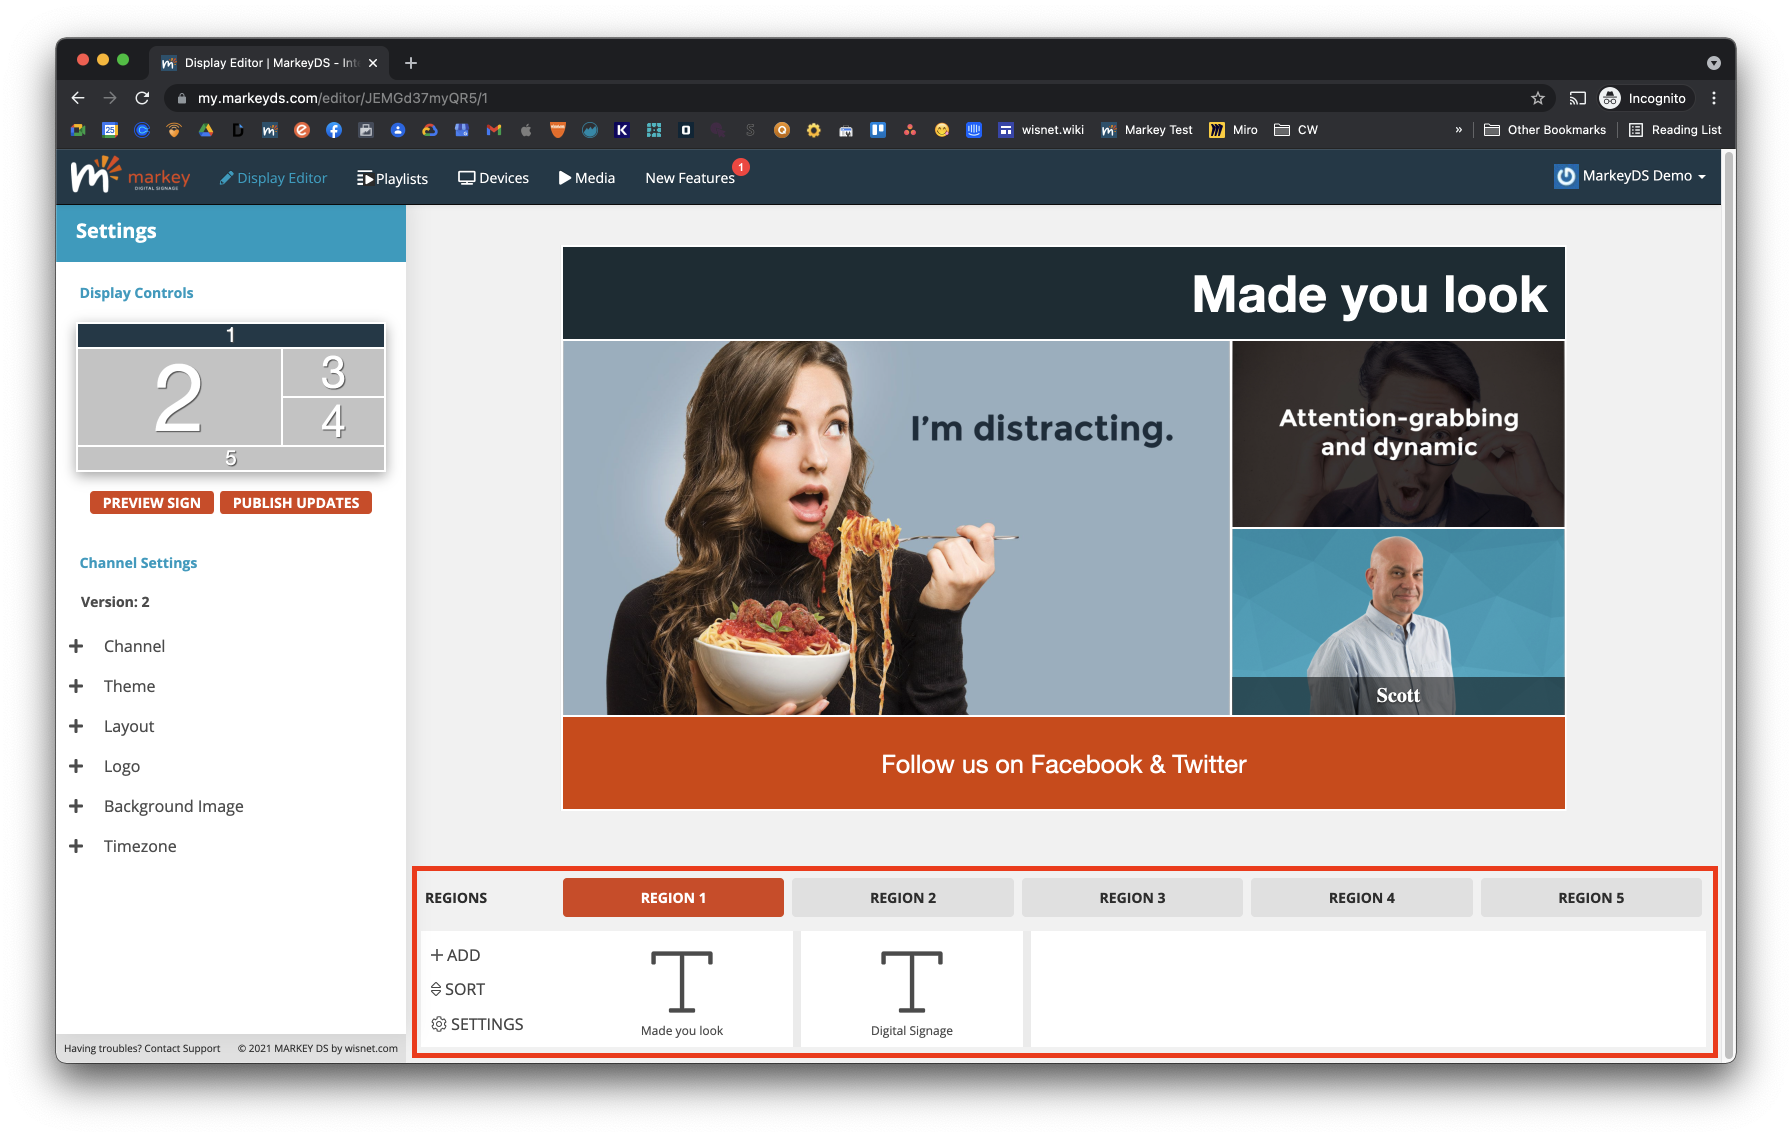
The Region Drawer gives quick access to all of the slides within each region to add slides, edit settings, sort slides, and more.

Region Tabs
Select each Region tab to see the Slides within that Region. The number corresponds to the number under the Display Controls layout template further up in the Display Editor.
Region Settings
Click the SETTINGS option to the right of the timeline to edit the settings of the selected Region. Which opens controls for:
- Delay: Set the time (in seconds) that each Slide remains on the screen
- Transition: Set the animation between Slides to either Slide or Fade
- Background Color: Set the color of the background
Add Slide
To add a slide to the currently selected region, click the ADD button on the left side of the drawer.
Sort Slides
To arrange the slides in a different order, select the SORT button on the left side of the drawer. The drawer will expand and you can now drag and drop the slides to change the desired order.
